Hostinger is one of the best choices for WordPress websites; whether you are a beginner and want to start your WordPress website at an affordable cost, then a Hostinger WordPress Hosting plan you can select that will be easy to use and WordPress-specific features can make your site more attractive. However, In this post, we can help you know How to Install WordPress on Hostinger Web Hosting with our few easy steps so that you can easily manage WordPress hosting.
More About Hostinger WordPress Hosting:
Hostinger Offers WordPress-specific hosting: Hostinger offers dedicated WordPress hosting plans to their customers, Which will be optimized and secured. Hostinger WordPress Hosting Features include one-click installation, LiteSpeed, faster loading times, enhanced security, and automatic updates.
Affordable WordPress Hosting pricing: Hostinger plans start with budget-friendly options, which can make it affordable for beginners and professionals. You can upgrade your Hostinger hosting plan as your website grows.
Ease of Install: Hostinger allows auto-installer your WordPress site, and Softaculous makes setting up a WordPress site simple.
Additional features: Many plans include free domain registration, email accounts, SSL certificates, and website backups.
Great Customer Support: Hostinger offers 24/7 support to their customer via live chat, email, and phone on your WordPress-specific issues.
![]()
Grab The Hostinger Web Hosting Discount
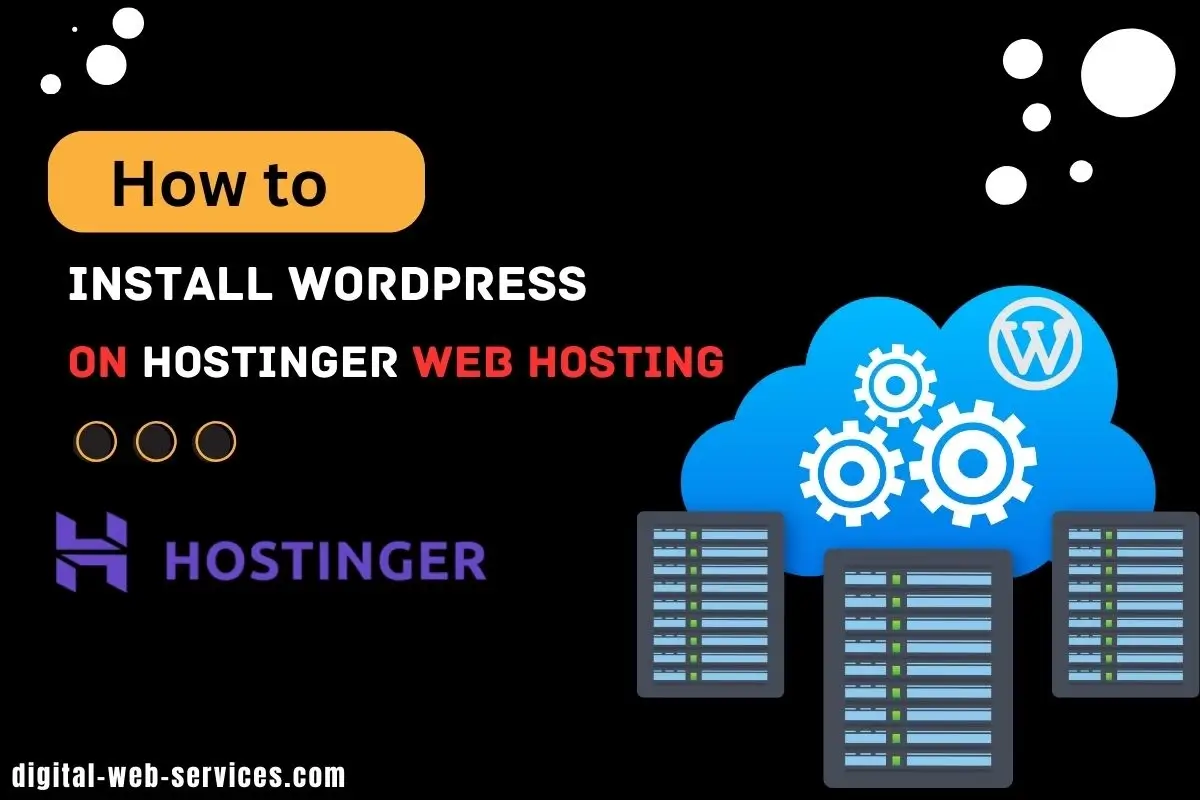
How to Install WordPress on Hostinger Web Hosting
There are three types of process, including Auto-Installer, using Softaculous, and Manual Installation. You can choose any one method to Install WordPress on Hostinger Web Hosting. Let’s See:
1. Using the Auto-Installer to install WordPress on Hostinger Web Hosting
This is the easiest and best-recommended method that you can follow to install WordPress on Hostinger Web Hosting
Step 1: Log in to your Hostinger dashboard.
Step 2: In the left sidebar menu, click on Website and then Auto-Installer.
Step 3: Find the WordPress icon and click Select.
Step 4: Enter the necessary details:
- URL: Your registered domain name.
- Language: Choose your preferred language for WordPress.
- Administrator Username: Create a username for logging in to WordPress.
- Administrator Password: Create a strong password for security.
Step 5: Click Install
2. By Using Softaculous (for cPanel users)
If your Hostinger plan and using cPanel, you can use Softaculous for installation. Here’s the process that you can follow:
Step 1: Log in to your cPanel dashboard.
Step 2: Find the Softaculous App Installer section.
Step 3: Search for WordPress and click Install.
Step 4: Fill out the details similar to the Auto-Installer method and click Install.
3. Manual Installation:
This method requires some technical knowledge but offers more control. Here’s what you need to do:
Step 1: First, Download WordPress: Visit wordpress.org and download the latest version of WordPress.
Extract the Files: Once downloaded, extract the ZIP file to a folder on your computer.
Step 2: Upload WordPress to Hosting Account by follow the given instruction:
- Access Hostinger’s File Manager: Log in to your Hostinger control panel and open the File Manager.
- Navigate to Public_HTML Folder: This is where you’ll upload WordPress.
- Upload Files:
- Use the upload button in the File Manager to upload the WordPress files you extracted.
- Alternatively, you can use an FTP client like FileZilla to upload the files.
Step 3: Create a MySQL Database and User:
- Go to MySQL Databases in Hostinger Panel: Find the MySQL Databases section.
- Create a New Database: Enter a name for your database and create it.
- Create a Database User: Make a new user and assign it to the database with full privileges.
Step 4: Configure wp-config.php
- Find wp-config-sample.php: In the File Manager, locate this file in the WordPress files you uploaded.
- Rename and Edit the File: Rename it to wp-config.php and edit it.
- Fill in the database name, user, and password you created in the previous step.
- Optionally, you can change the database table prefix for security.
Step 5: Run the Installation Script
- Open a Web Browser: Navigate to your domain.
- Installation Page: If everything is uploaded correctly, you’ll see the WordPress installation page.
- Fill in the Details:
- Site name, admin username, password, and email.
- Select whether to discourage search engines from indexing the site (you can change this later).
Step 6: Complete the Installation
- Install WordPress: Click the Install WordPress button.
- Log In: Once installed, you can log in to your new WordPress site by going to yourdomain.com/wp-admin.
conclusion
Before installing and making changes to your WordPress site on any web hosting service, you should always keep backups of your sites. You can also make sure to regularly update WordPress, themes, and plugins for security and functionality upgrades. I hope this post will help you install a WordPress website easily on Hostinger Web Hosting. For other information regarding Hostinger hosting plans and active Hostinger coupons, you can keep with our blog post, where we bring the latest deals and other hosting information.

Digital Web Services (DWS) is a leading IT company specializing in Software Development, Web Application Development, Website Designing, and Digital Marketing. Here are providing all kinds of services and solutions for the digital transformation of any business and website.