
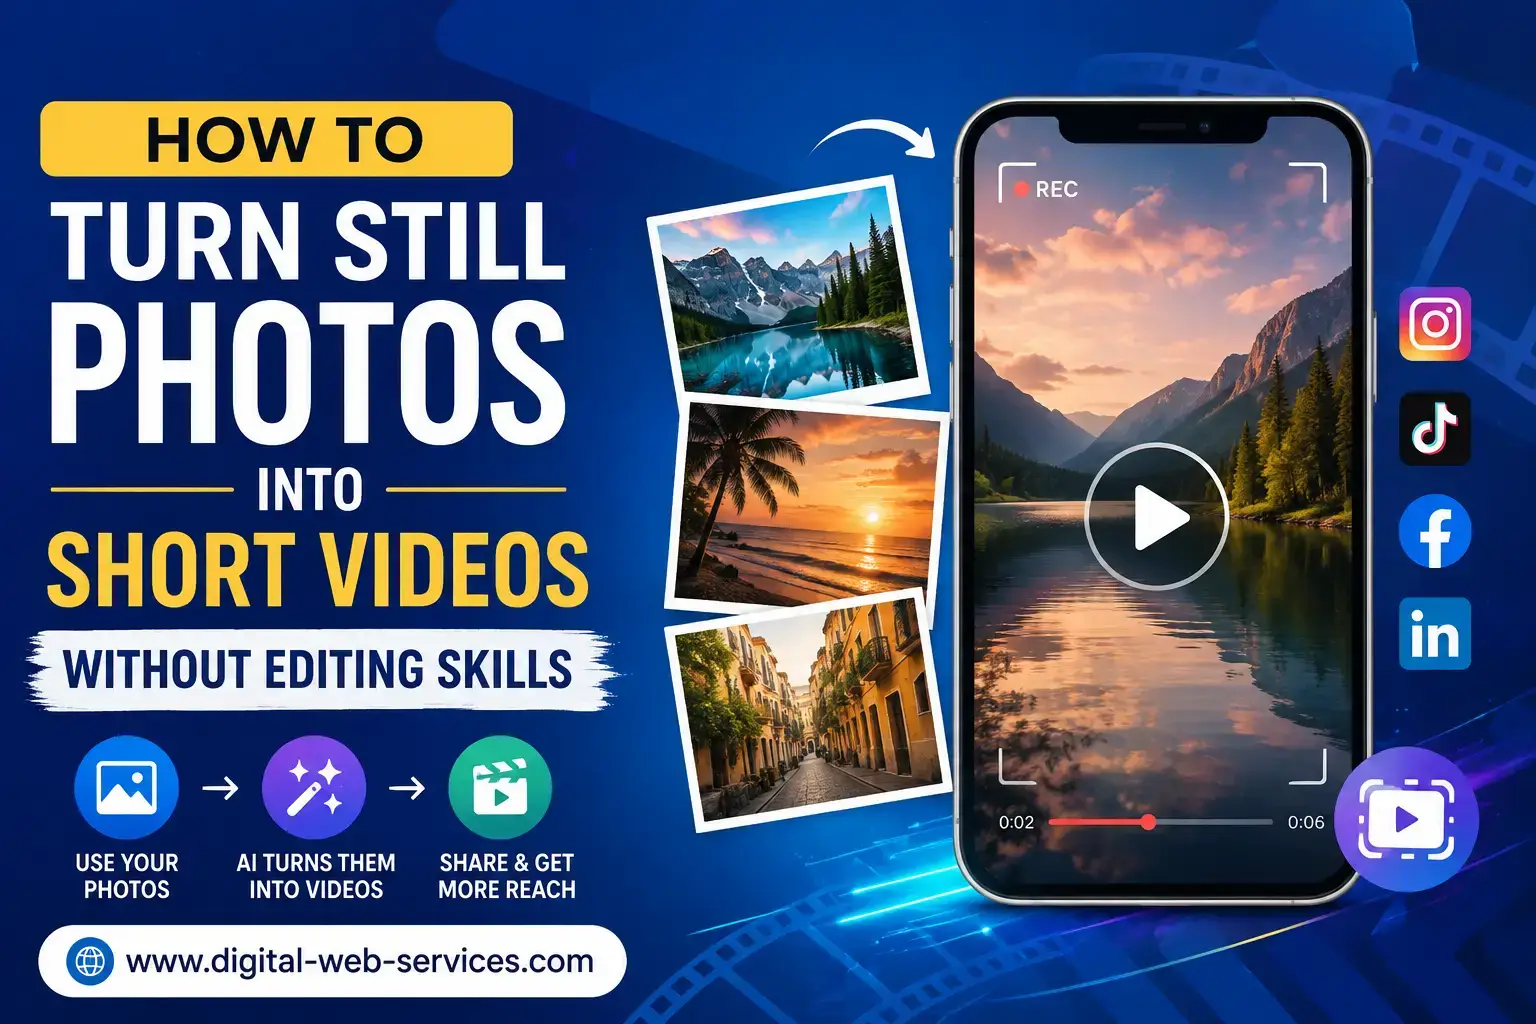
How to Turn Still Photos Into Short Videos Without Editing Skills
Short videos now get more reach than photos on almost every platform. Instagram, Facebook, TikTok and even LinkedIn push moving content ahead of static images in the feed. For small businesses and content creators, this creates a problem. You may have hundreds of good photographs, but no video footage and no budget for a shoot.
The good news is that you no longer need editing software or filming experience to produce a short clip. A category of tools called image-to-video generators can take a single photograph and produce a few seconds of motion from it. In this article, we will explain how these tools work, how to use them step by step, and just as importantly, where they fail.
What Is an Image-to-Video Tool?
An image-to-video tool takes one still photograph as input and generates a short clip, usually between four and eight seconds long.
It does not simply zoom in on the picture. Traditional slideshow software applies a pan or zoom effect to a flat image, which anyone can recognise instantly. An image-to-video tool works differently. It interprets what is in the photograph and generates plausible movement for it, such as a camera easing forward through a room, steam rising from a cup, or fabric shifting slightly in the wind.
Tools in this category, including Stivio, require only a single image. You do not need a video clip, a sequence of frames, or any prior footage.
Why Would You Use One?
There are three practical reasons.
You already own the images. Most businesses have a photo archive sitting in a folder. Product shots, workspace pictures, event photographs. These have already been paid for and cleared for use.
Filming is expensive and slow. Booking a videographer means scheduling, location arrangements, and editing time. For a single social media post, the cost rarely makes sense.
Feeds reward motion. A moving post holds attention for longer than a still one, which affects how far the platform distributes it.
Which Photographs Work Best?
Not every image is a good candidate. After a few dozen attempts, a clear pattern emerges.
Interiors with depth. A corridor, a shop floor, a restaurant with tables receding into the background. Depth gives the tool somewhere to move the camera, and the result looks like a real dolly shot.
Single objects on a clean background. A product on a table, a cup of coffee, a pair of shoes. There is only one subject to animate, so there is very little that can go wrong.
Scenes with natural movement already implied. Steam, smoke, water, leaves, curtains near an open window, traffic at dusk. The tool is generating motion that the viewer expects to see anyway, so small errors go unnoticed.
Landscapes and skylines. Clouds and light shift convincingly, and there are no faces or hands for the model to get wrong.
The images that consistently disappoint are the opposite of these. Flat frontal shots with no depth, group photographs, close-ups of hands, images with text or logos in them (the letters tend to warp), and anything already blurry or low resolution.
If you are unsure about a photograph, look at it and ask one question: what in this picture would move if I were standing there? If the honest answer is nothing, the clip will look artificial.
Step by Step: Creating Your First Clip
Step 1. Choose the right photograph. This is the most important step and the one most people rush. Pick an image where the main subject is a place or an object rather than a person’s face. A shop interior, a plate of food, a workshop bench, a street at sunset. High resolution helps. Blurry input produces blurry output.
Step 2. Upload the image. Most tools accept standard JPG and PNG files through a browser. No installation is required.
Step 3. Describe the motion you want, if the tool allows it. Keep the instruction simple. “Slow camera push forward” works far better than a long description of a complicated scene.
Step 4. Generate and review. Processing usually takes under a minute. Watch the clip at full size, not as a thumbnail. Problems are easy to miss on a small preview.
Step 5. Generate again if needed. Results vary between attempts on the same image. Two or three tries on a good photograph is normal.
Step 6. Add your caption and export. Most social platforms play video without sound by default, so on-screen text matters more than audio.
What These Tools Cannot Do
This section matters more than the previous one, because it decides whether your output is usable.
They cannot add what is not in the photo. An empty shop will stay empty. The tool cannot generate customers who were never there.
Faces distort. Motion generated around a clearly visible face often causes features to drift, and the result looks unnatural. Use photographs where people are seen from behind, at a distance, or where the real subject is the space rather than the person.
Longer clips get worse. Beyond roughly eight seconds, straight lines begin to bend and the geometry of a room stops holding together. Several short clips cut together look better than one long generated sequence.
Crowded scenes fail. A photograph with many moving subjects gives the tool many chances to produce something wrong, and it usually does.
Some photos should stay photos. A sharp, well-lit product shot does not always improve with motion. A confident still image often looks more professional than an average clip.
How Many Attempts Should You Expect?
Plan to discard around half of what you generate. This ratio is normal and it is still far cheaper and faster than arranging a shoot. If you want five usable clips for a campaign, start with fifteen to twenty candidate photographs.
Conclusion
Image-to-video tools will not replace professional video production. If you have the budget and the schedule for a proper shoot, the result will be better and it will not come with the limitations described above.
What these tools replace is having no video at all. For a small business with a photo archive, a browser, and a posting schedule to keep, that is the gap worth closing. Start with your best photographs of places and objects, keep the clips short, and accept that some attempts will not work. The ones that do will cost you a few minutes each.

Maria Jain is a Senior Content Strategist and Tech Editor at Digital Web Services, with over 6+ years of experience covering digital marketing, website development, and search engine optimization. She specializes in WordPress site architecture, AI technologies, Web Hosting, topical authority models, and hands-on SaaS & affiliate tool reviews. Maria combines data-driven SEO practices with deep web design and technical insights to publish transparent guides, tool comparisons, and strategic tutorials for digital growth.